Sound can make or break a game or demo. Research shows that the presence and quality of audio elements can massively improve immersion and perceived visual quality in everything from film to 3D games and virtual reality environments.
Here, I’m going to look at recording and producing voice and other sounds. This should help you create audio good enough to pass muster for a demo, game jam, or even – if you take care with your production – a full release, at home and for not too much money.
Gear up
If you mostly want to record voice, then you need a decent quality microphone and a noise-free environment. The former is easier to achieve than the latter. While dynamic microphones are best for loud noises and live performances, condenser mics are better for voice recording in the studio, as they’re more accurate and sensitive to subtle sounds.
If you exclusively use a computer to record, USB is by far the easiest option. USB mics are typically class-compliant, so you just plug them in and record on any desktop operating system, with production-friendly features such as a 24-bit input bit depth (more data values encoding your sound improves your signal-to-noise ratio) and asynchronous USB (so data transfer timing isn’t dependant on your PC’s system clock).

Popular options here include the Blue Yeti Pro, RØDE NT-USB, Audio-Technica AT2020, or, if you want something decent for around £50, the Samson Meteor Mic and Blue Snowball iCE.
If you already have a USB audio interface, such as the Focusrite Scarlett Solo, with an XLR microphone input, then a wider range of condenser mics opens up. You can still expect to pay a minimum of £50, though.
On the move
If you want to record ambient sound, or don’t have a fixed recording environment, then a good quality portable PCM (pulse-code modulation) audio recorder is invaluable.
Look for a pair of integrated stereo condenser microphones, support for 24-bit recording, line and mic inputs, and expandable SD or microSD storage. You should also buy a windscreen for your recorder’s mics – get one of the fluffy fake fur ones if you’re going to record outdoors.
Olympus’ LS and DS ranges are very good, as are Tascam’s handheld DR recorders and the Zoom Handy range. Expect to pay between £75 and £150 for a decent entry-level recorder.

sE Electronics popularised reflection filters, and its sturdy Reflexion Filter PRO is still one of the best options around.
I’ve done a lot of field and vocal recording with an Olympus LS-12, and with a bit of practice, you can get results that rival a simple studio setup almost anywhere. Use a windshield and manually configure a low recording level to give you plenty of overhead for later editing and amplification. Make sure you record in PCM WAV format rather than having your recorder encode tracks as MP3s.
If you’re recording environmental sounds such as rivers, insects, or birdsong, you’ll want to position your recorder as close as possible to the audio source. Parabolic microphone dishes and shotgun mics allow you to get clearer and more directional sound at a distance.
In the studio
You can have the best hardware in the world, but if you’re recording in an unsuitable environment, your sound won’t be clean enough to work with. The main hazards are background noise and echo.
Your computer is likely to be the most significant source of unwanted background noise. Fan noise from most laptops and desktop PCs is enough to render a recording unusable, but you have options here.
You could put the PC outside your recording booth, but that’s inconvenient if working solo. It’s more practical to build or rebuild your computer into a case with sound insulation and low-noise fans – great examples of these are the Antec P101 Silent and Fractal Design’s Define range.

Basic pop filters still comprise nylon stocking fabric stretched over a metal loop, positioned in front of the mic.
Probably the cheapest silent recording solution is to equip your studio with a Raspberry Pi 4 with 4GB of RAM. This costs around £55, though you’ll also need a microSD card and power supply.
Install Audacity on the standard Rasperry Pi OS, connect a USB mic and you’ve got a pocket-sized studio PC. You can even edit on it, although handling large chunks of audio is still easier on a more powerful PC with more RAM.
Finally, and most simply, you can use a portable audio recorder. You won’t have to worry about computer noise at all, but can’t edit on the fly.
A quiet place
Now, you’ve got to tackle the hum of all your other household devices, and even the quietest room is likely to have hard, uncovered walls and floors that create echoes and vibrations that will be difficult to remove from your recording.
If you have a spare room to use as a studio, you can improve its acoustics by putting foam tiles on the floor – these lock together and are easy to install. On the walls, heavy velvet curtains, acoustic sound blankets, or foam soundproofing wedge tiles are good options. You want lots of soft surfaces that absorb sound rather than reflecting it back at your mic.
The ideal room for this will be solidly built and insulated to minimise both unwanted vibrations from structural elements and noise leaking in from outside.

All that said, one of the fastest, most effective and space-efficient DIY solutions is the common or garden blanket fort. Stick your mic in front of your monitor, a pillow on each side, drape a thick blanket over the whole lot and pull it over your head.
A more comfortable – and dignified – option if you’re regularly going to be recording at your desk is a reflection filter. This is a hemispherical frame covered in acoustic foam, often with an integrated mic stand, to keep the worst of any unwanted audio reflections bouncing back to your mic.
You can get solid models from the likes of Marantz and sE Electronics for prices ranging between around £40 and £150.

Clamshell-style ferrite chokes can be clipped to the ends of cables to reduce radio frequency interference.
You’ll also want to put a pop filter between your mouth and the mic to help reduce unwanted sounds caused by aspirated plosives such as hard ‘p’ and ‘t’ sounds in English, the intensity of which can overload sensitive mics. Make sure the filter is clipped to a table or stand rather than directly to the mic to avoid transferring vibration.
A windscreen of the kind used for outdoor recording can also help, but may muffle some sounds.
Listen back
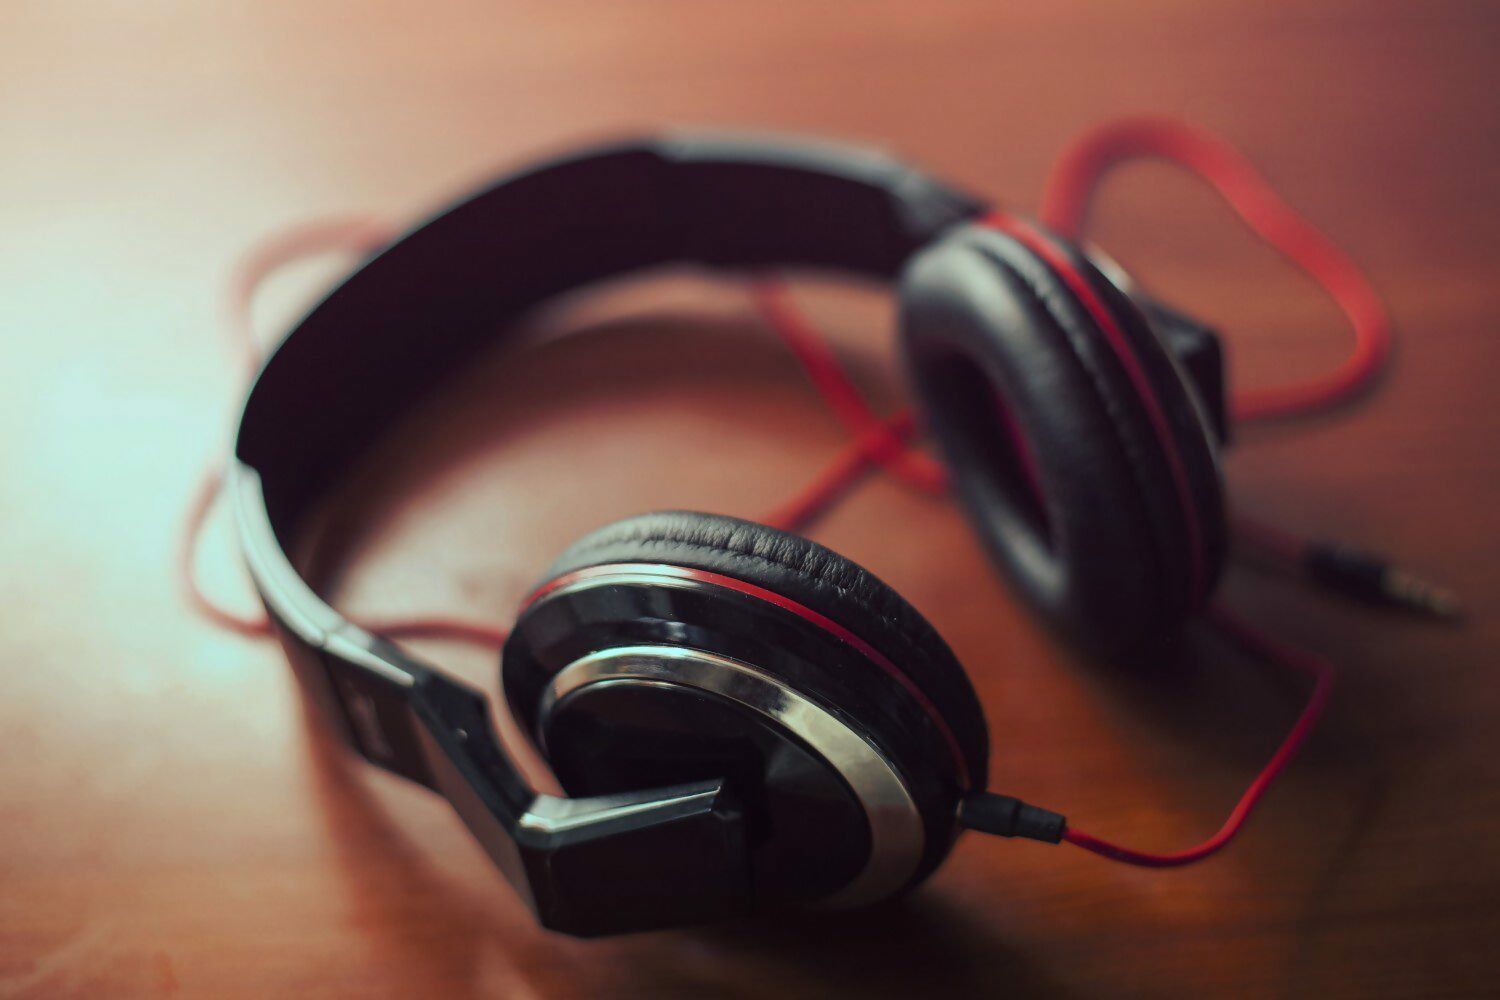
You’ll also need something to monitor and listen to your sound on. Chances are that you already have headphones and speakers of some description. For headphones, a flat sound that closely represents the recorded audio is desirable, so you’ll want to avoid anything that attempts to boost bass frequencies.
However, using studio or audiophile-grade equipment to listen to your audio – particularly if music or ambient environmental sound is also involved – can give you a false impression of how people will be hearing your game’s soundscape.
For day-to-day use, a decent pair of general-use speakers should do the trick. Mackie’s CR4 speakers, at around £100, are an ideal compromise between sound that’s detailed and balanced enough for production and a price point that won’t break the bank.

Open-source audio editor Audacity provides a simple and powerful cut-paste audio editing interface.
Speakers and other cabled audio hardware, such as guitars or microphones connected to a USB audio interface, can easily pick up electromagnetic interference from phones, microwaves, and other cables. This can result in a noticeable ‘floor’, impacting recording quality.
Avoid using cables that are longer than you need and clip ferrite ring magnets to each end of your cables – miniature toroid cores are preferred for use on microphones to reduce the risk of magnet hum being picked up by the mic. Audio-grade USB cables usually have a built-in ferrite bead.
Getting started with software production
Regardless of what you want to produce, you’ll want to spend time making friends with some digital audio editing software. Audacity 2.3.3 is capable, well-documented, cross-platform, and free.
Audacity’s project file format uses uncompressed PCM WAV files. If you’re exporting individual tracks, use either WAV format or a lossless compressed audio format such as FLAC.
If you don’t want to get into painful debates about Nyquist frequencies, psychoacoustics, and recording resolutions, then you can safely record at Audacity’s default settings: a sample rate of 44.1kHz and a 32-bit floating-point bit depth.

You ideally want your normal recording amplitude to be around -6dB.
If you’re using a dedicated USB microphone for voice recording, select that from the toolbar pull-down next to the mic symbol and your output device (either an integrated or dedicated sound card) from the pull-down next to the speaker symbol.
If you’re using a condenser microphone with multiple patterns, switch it to cardioid mode and make sure the front of the mic is lined up with your mouth and positioned about 18 cm (7 in) away from it. Don’t forget to use a pop filter or windshield.
Plug your headphones in and silence any speakers connected to your PC. Click on the microphone recording meter to enable monitoring and make some noise. Cover the full range of sounds you expect to make and make sure the level monitor doesn’t go into the red. If it does, then you should reduce the gain setting on your microphone if you have one.

Audacity can show any points where your recording suffers clipping.
If you’re still going into the red, adjust Audacity’s volume recording slider down and try again. If your voice is consistently too loud, move further away from the mic. If everything’s too quiet across the board, try moving closer to the mic and increasing your microphone’s gain.
Next, hit record, capture five or ten seconds of silence and make a test recording. If everything’s configured properly, you should see no clipping – where the waveform is cut off because the sound was too loud to record, producing a distorted effect on playback. The Show clipping option in Audacity’s View menu will highlight problem areas.
Effects bank
Once you have a good test recording, turn the volume of your output device right up and listen for background noise. There hopefully won’t be too much, but if there’s a consistent background hum, noise reduction may help. Highlight the silence you recorded, select Noise Reduction from the Effects menu, and click Get Noise Profile.
Now select the whole track, select Noise Reduction again and click OK. This will reduce consistent sounds but can also eliminate frequencies you want, so only use it if you have to.
If you don’t have unwanted background sound, the silence you recorded can be cut and pasted over any unwanted breathing or mouth noises during sections of your recording that are supposed to be quiet.

Noise reduction can remove repetitive background drones but can also get rid of sounds you do want.
You can also use high-pass filters to cut out low frequencies – anything below the human vocal range, for example – while low-pass filters eliminate high-frequency sounds. If your recording’s too quiet, you can amplify it, while a compressor allows you to even out variable recording levels beforehand.
Meanwhile, adding reverb can add a sense of space to your recording. It’s worth taking time to experiment with Audacity’s effects and browse its extensive manual. Third-party plug-ins are also available.
Finally, make sure you’re well-hydrated and look up some vocal warm-ups to do before you start recording in earnest – both your throat and the quality of your recordings will thank you.


